Camera as a Service or how to control your camera with .NET

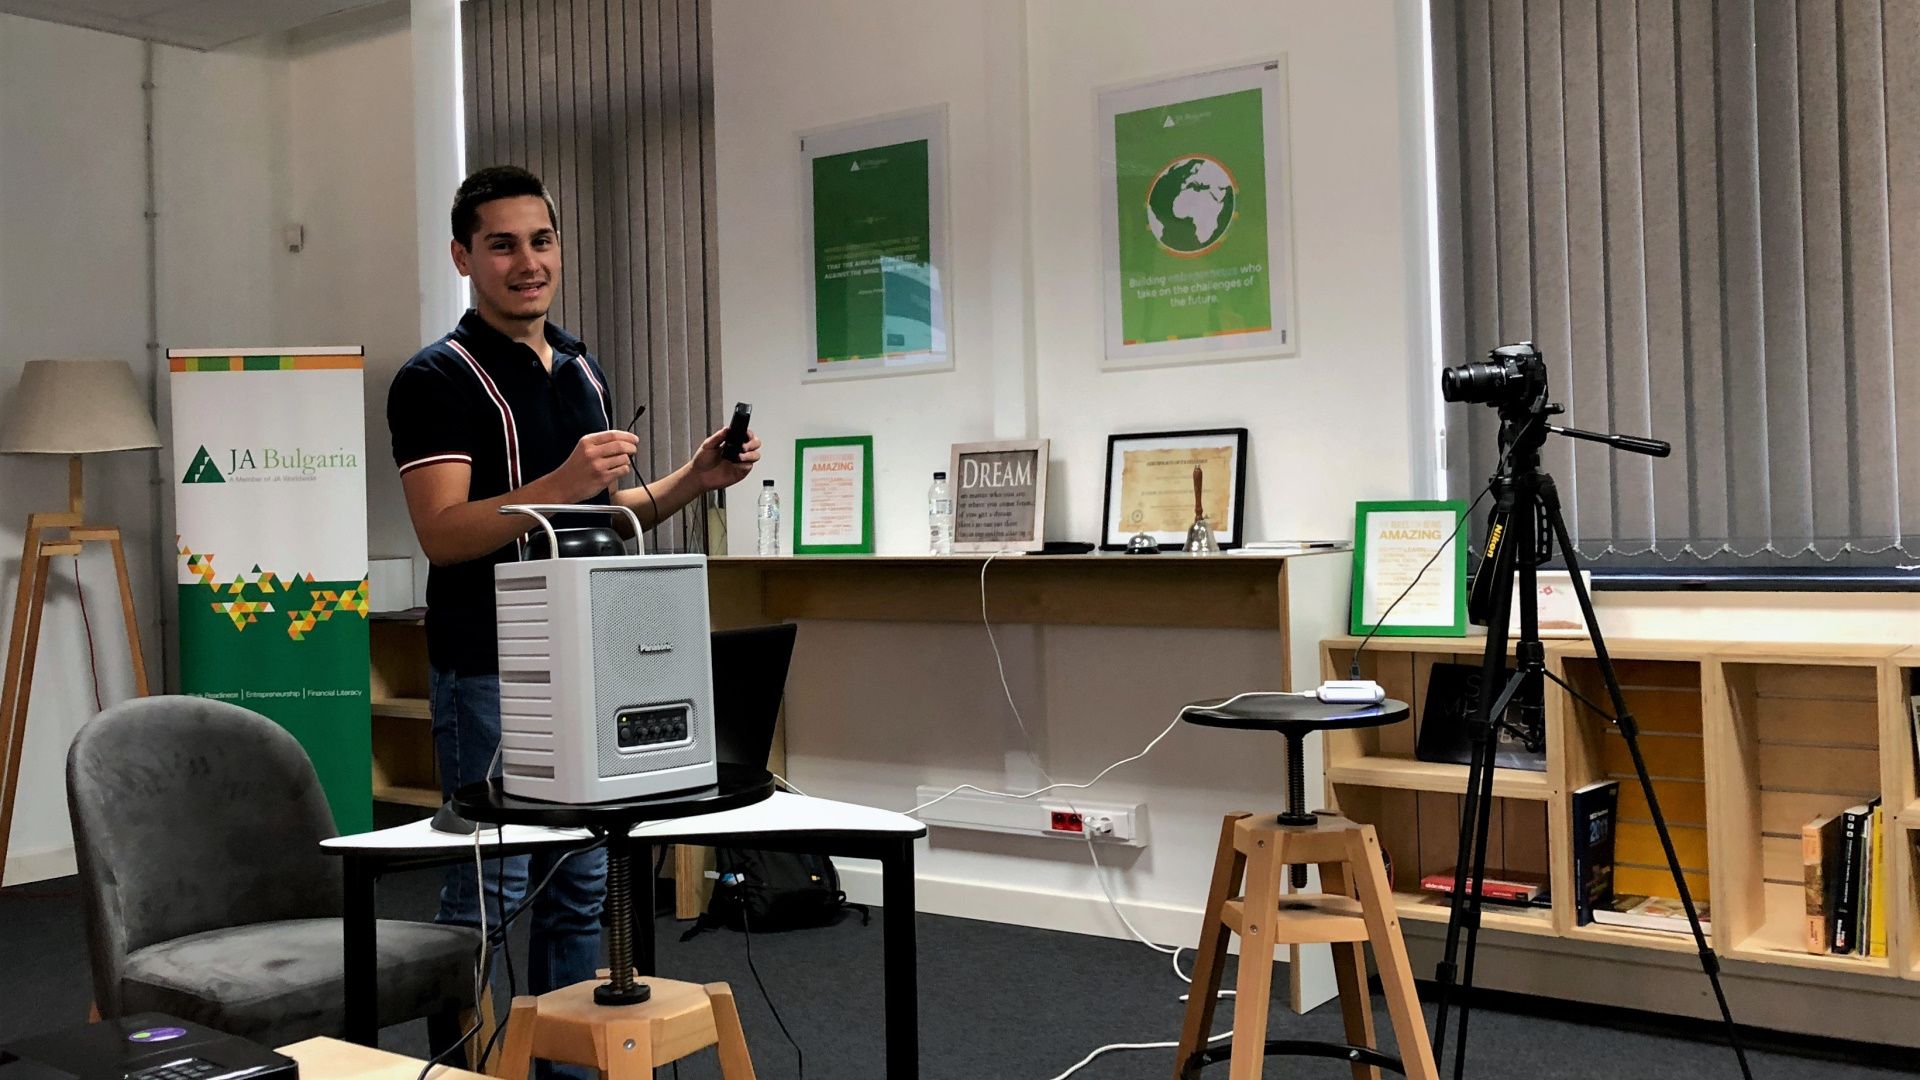
I have been looking for a way to automate my Nikon DSLR for quite some time. And this is happy me. who managed to automate my camera to capture a photo once my Raspberry Pi 3 gets disconnected. I had to prepare a good demo with Azure IoT Hub for IoT Summit Bulgaria. The pressure before such events makes you find solutions to difficult problems. Whew!
I am keen on playing with everything I own. So, I've tried the official applications as provided by Nikon (Canon have such an app too). It turned out the Nikon software didn't support my cheap Nikon D3300 that I own. Nikon D3500 is basically the successor of D3300. However, even if their software supported my camera, I don't expect to have a way to automate it. It seemed like Canon supported a bigger range of their device but still lacked automation capabilities.
digiCamControl: The discovery
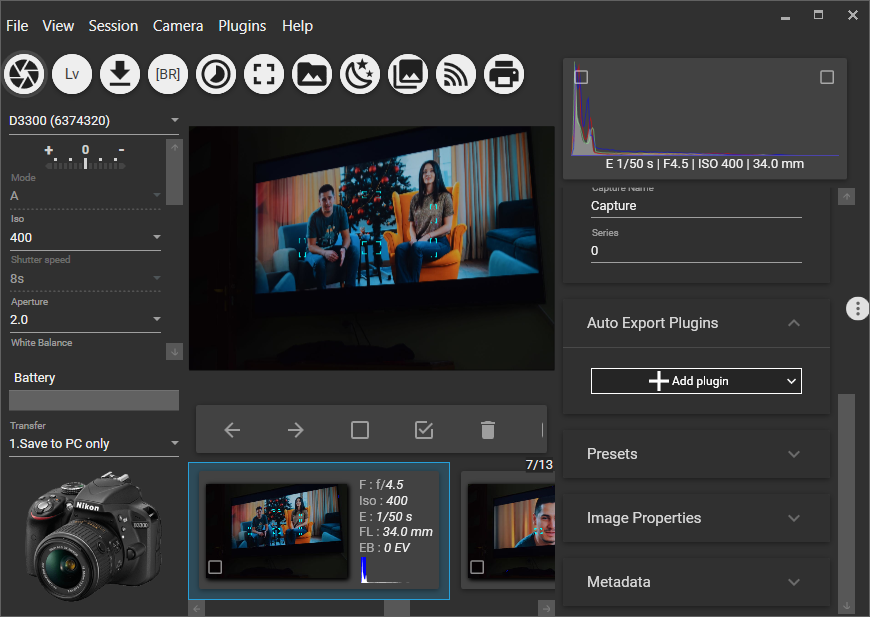
Somehow an open-source project called digiCamControl appeared on my radar. This application has a handy UI allowing you to control your camera. As far as I understand it, they have reverse-engineered the protocols of some cameras and implemented it. Here you can see a list of supported devices. It supports some cool features like Live view to preview how the image looks like, Astronomy module allowing you to automate long exposure captures and supports Arduino or USB triggers allowing you to improve sync capture on multiple cameras. digiCamControl claims that it supports up to 127 cameras using multiple USB hubs but have in mind that there will be some lag between those devices if you just rely upon a single USB!
So I explored the source code and found an interesting folder called CameraControl.Devices which looked like the module that controls the devices behind the scenes. And it turned out it has been published as a Nuget package: https://www.nuget.org/packages/CameraControl.Devices. You can see some usage examples in this project: https://github.com/dukus/digiCamControl/tree/master/CameraControl.Devices.Example
Let's play with it!
Creating a ASP.NET Web API
Creating the project
I will show you how to expose your camera as an ASP.NET Web API but that doesn't mean you can't do so in a Console application for example.
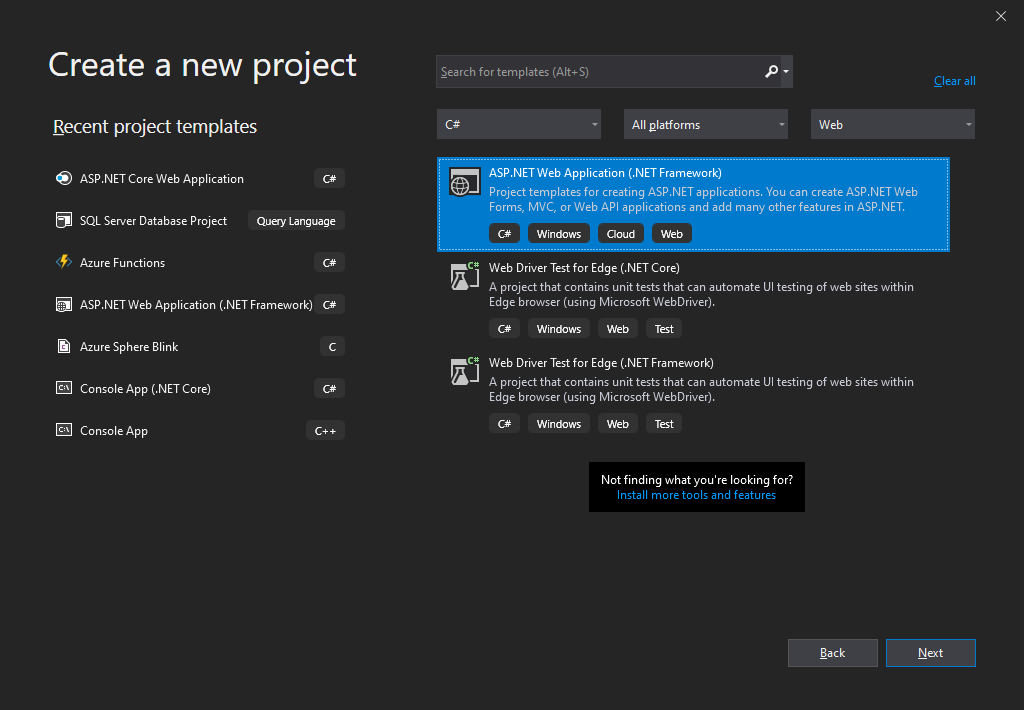
Just make sure you have created a .NET Framework project of some sort, as I did:
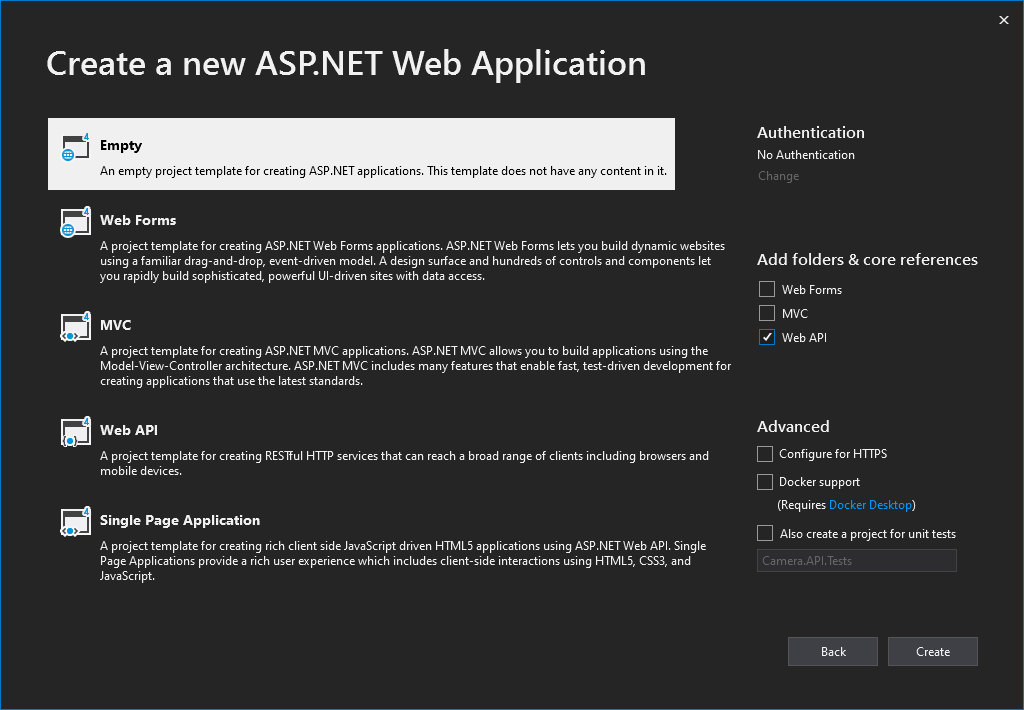
Set it to be an empty ASP.NET Web API:
Installing CameraControl.Devices package in your project
You have to install the Nuget package prior to writing some code. Currently, it's available only for .NET Framework applications.
That is how you do it in Visual Studio but make sure Include prerelease is checked as the package was published as beta version:
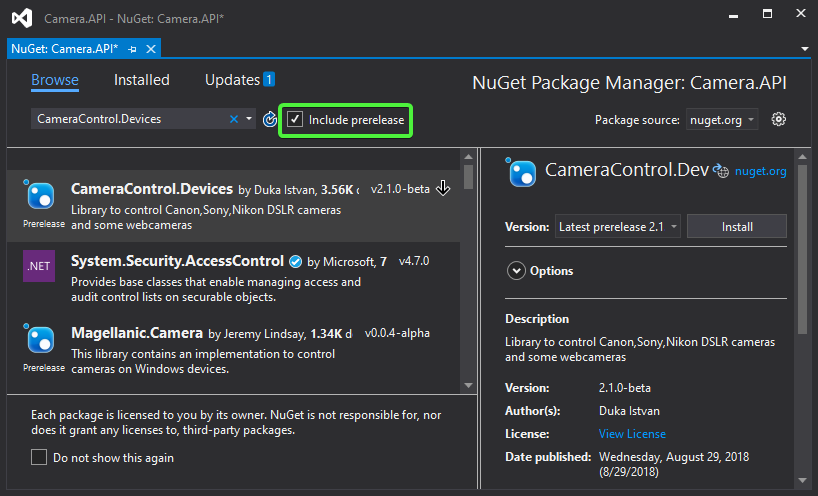
Or you can use the Package Manager Console:
Install-Package CameraControl.Devices -IncludePrerelease
Implementing the capture code
Basically, one of the main classes you have to know is CameraDeviceManager that lets you control the connected cameras. It provides a number of events like for example PhotoCaptured when the photo is ready for retrieval.
I know this is not the prettiest code you will ever see but there are some reasons for it. The library itself is not implemented to support async as is the nature of most Web APIs. Therefore it uses events to handle operation results. There is also some exception handling logic. And we have to serve it as an action method after all. Mixing the HTTP request/response model with event handlers proves to be not an easy task.
Add a new Empty Web API 2 Controller and name it PhotoController and this is the implementation of it:
using CameraControl.Devices;
using CameraControl.Devices.Classes;
using System;
using System.IO;
using System.Net;
using System.Net.Http;
using System.Net.Http.Headers;
using System.Threading;
using System.Threading.Tasks;
using System.Web.Http;
public class PhotoController : ApiController
{
    public string FolderForPhotos = Path.Combine(Environment.GetFolderPath(Environment.SpecialFolder.MyPictures), "DSLR");

    private TaskCompletionSource<string> TaskCompletionSource = null;
    private CameraDeviceManager DeviceManager = null;

    // GET api/photo
    public async Task<HttpResponseMessage> Get(CancellationToken token)
    {
        TaskCompletionSource = new TaskCompletionSource<string>();

        DeviceManager = new CameraDeviceManager();
        DeviceManager.DisableNativeDrivers = true;
        DeviceManager.StartInNewThread = false;
        DeviceManager.PhotoCaptured += DeviceManager_PhotoCaptured;

        DeviceManager.ConnectToCamera();
        DeviceManager.SelectedCameraDevice.CapturePhoto();

        token.ThrowIfCancellationRequested();
        var fileName = await TaskCompletionSource.Task.ConfigureAwait(continueOnCapturedContext: false);

        HttpResponseMessage result = new HttpResponseMessage(HttpStatusCode.OK);
        var stream = new FileStream(fileName, FileMode.Open);
        result.Content = new StreamContent(stream);
        result.Content.Headers.ContentDisposition = new ContentDispositionHeaderValue("attachment");
        result.Content.Headers.ContentDisposition.FileName = Path.GetFileName(fileName);
        result.Content.Headers.ContentType = new MediaTypeHeaderValue("image/jpg");
        result.Content.Headers.ContentLength = stream.Length;
        return result;
    }

    private void DeviceManager_PhotoCaptured(object sender, PhotoCapturedEventArgs eventArgs)
    {
        if (eventArgs == null)
        {
            TaskCompletionSource.TrySetException(new Exception("eventArgs is empty"));
            return;
        }
        try
        {
            string fileName = Path.Combine(FolderForPhotos, Path.GetFileName(eventArgs.FileName));
            // if file exist try to generate a new filename to prevent file lost.
            // This useful when camera is set to record in ram the the all file names are same.
            if (File.Exists(fileName))
                fileName =
                    StaticHelper.GetUniqueFilename(
                    Path.GetDirectoryName(fileName) + "\\" + Path.GetFileNameWithoutExtension(fileName) + "_", 0,
                    Path.GetExtension(fileName));

            // check the folder of filename, if not found create it
            if (!Directory.Exists(Path.GetDirectoryName(fileName)))
            {
                Directory.CreateDirectory(Path.GetDirectoryName(fileName));
            }
            eventArgs.CameraDevice.TransferFile(eventArgs.Handle, fileName);
            // the IsBusy may used internally, if file transfer is done should set to false
            eventArgs.CameraDevice.IsBusy = false;

            TaskCompletionSource.TrySetResult(fileName);
        }
        catch (Exception exception)
        {
            TaskCompletionSource.TrySetException(exception);
            eventArgs.CameraDevice.IsBusy = false;
        }
        finally
        {
            DeviceManager.CloseAll();
        }
    }
}
The code will actually save the photo first on your machine and then serve it as an attachment so that your browser can download it.
Some interesting ideas
Exposing your web service to the internet
Maybe you want to expose this API to the internet and use it for example in Logic Apps. Maybe you will have a motion detection sensor that will fire this API and upload the photo of the thieves on Twitter. Why not?
I am a huge fan of ngrok, a tool that helps you expose your local web server running on localhost as a public URL. You have to sign up before using it. Then you have to install ngrok auth token on your mahcine.
Open your Command Prompt and type the following to start a tunnel:
ngrok http [port] -host-header="localhost:[port]"
Then it will show you the public URL of your API running on localhost:
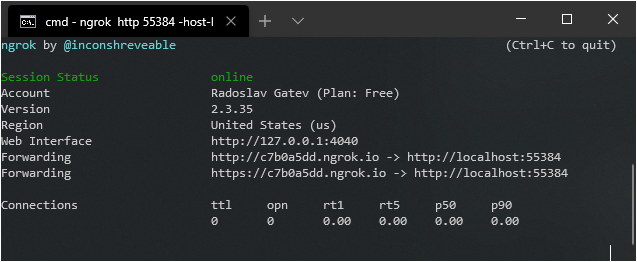
You even get an HTTPS endpoint while you run it locally on HTTP for example.
Hitting https://<random-subdomain>.ngrok.io/api/photo will let you download the captured photo. You will probably ask how the caller would know your subdomain when it's auto-generated. Basically, you have to upgrade to a paid ngrok plan to be able to reserve a subdomain or use a custom domain.
I suggest you configure your camera to save photos in the smallest JPEG format available. Otherwise, you will have to wait a lot to transfer those huge files.
Make sure your camera never runs out of battery
If you really decide to expose your camera as an API you will need a power supply. This thing is dubbed "dummy battery". Do check out which one works best with your camera as there are plenty of choices there!
Use your camera as a web camera
Unfortunately, you cannot use the video input from the live view in digiCamControl via the USB for online streaming or video calls.
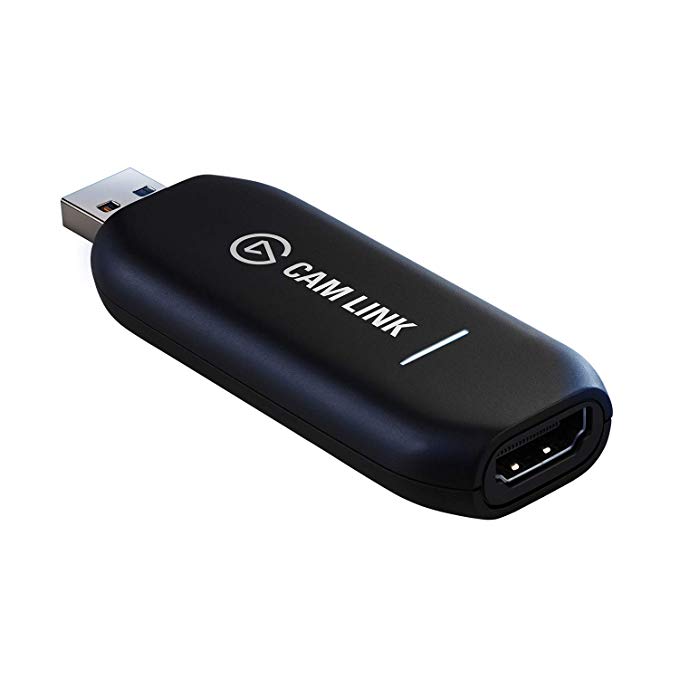
Elgato Cam Link is a dongle that takes the input from the HDMI output of your camera and serves it to your computer's USB. Its HDMI port supports up to 4K resolutions at 30 FPS.
Here you can check all cameras that have clean HDMI out and can stay all day.